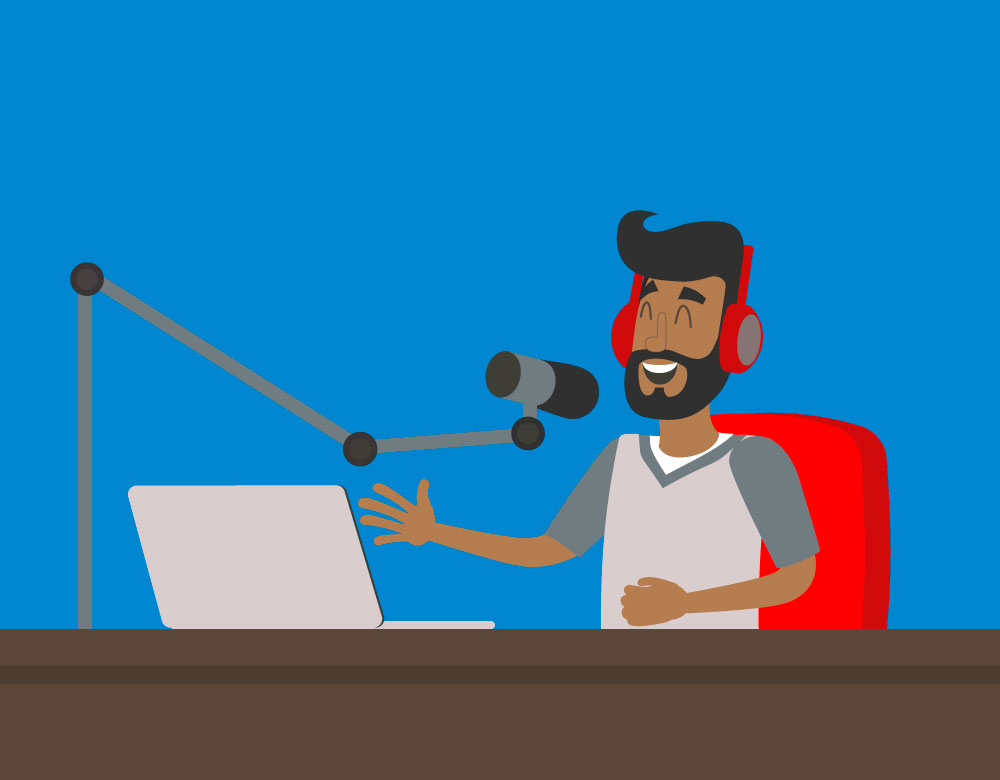
Okay, full disclosure up front: I haven’t exactly figured out the “fortune” part. But making podcasts can be a lot of fun! And being able to make a podcast adds an extra dimension to your editorial skills.
As a budding writer with a sheaf of completed short stories in hand, I wondered about the next step. Then I met a famous author who had converted his unpublished works into podcasts where they were snapped up by book publishers.
Well, that sounded cool. I know computers and have taught students the miracles of manipulating music and noise with software. I could turn my stories into podcasts!
I discovered that podcasting can be really complex and expensive or really simple and cheap, all somewhat related to quality. I opted to start with simple and cheap and keep my options open. But podcasting anywhere on the quality spectrum still involves the same six steps that I discuss in this blog post and the next.
Step 1: Content development. You need content for your podcasts. Mine was short stories, so they turned out like radio plays or audiobooks. Many other podcasts are like talk shows or documentaries. Some editors make podcasts about editing topics and put them on their websites. You can listen to other podcasts to see the variety of what’s out there but it’s really important that the content be your own. You don’t own the rights to the Beatles’ music so you can’t use it in your podcast. The idea of copyright isn’t new to editors and it applies to sound just like it applies to print.
Tip: Before you go to the next step, be sure you have a well-edited and well-rehearsed script ready.
Step 2: Recording. This is the area where things can get really complex and expensive. But just about every connected device these days has a built-in mic, which will do to get your content into the computer until you realize you want something better. I started out with a good-quality external USB mic that I used with school classes. For recording software, I use Audacity, which is free to download. Then you need a quiet place away from barking dogs and ceiling fans. Try early morning with the windows closed and aim for a recording level about three quarters of full scale.
Tip: If you make a mistake while recording, pause for a few seconds and start the last paragraph over without interrupting the recording process. You can always edit out the gaffes in the next step.
Step 3: Editing and production. If you use Audacity for recording, you can use it for editing too. Basic sound editing is like basic document editing: you can cut and paste (remove snorts and move sounds around), apply a few useful effects (fade in, fade out) and add headers and footers (standard intros and exits). Editing audio can be as simple or as complex as you want, and it gets easier with practice. Sure, a radio play can be really complicated. But it doesn’t have to be, depending on where you are in the podcasting scale of evolution. Basic editing with one reader, one mic and coconut shells for the sound of galloping horses might do the trick.
Tip: Go back and forth between steps 2 and 3, experimenting with different settings and techniques.
In the next blog article, I’ll discuss the last three steps:
- saving and tagging
- uploading to the Internet
- getting Apple Podcasts to take note
___
Previous post from Tim Green: Sun Tzu and the Art of Words
The Editors’ Weekly is the official blog of Editors Canada. Contact us.
Discover more from The Editors' Weekly
Subscribe to get the latest posts sent to your email.
